
Purchasing a new teardrop camper can set you back tens of thousands of dollars. Buying a used model is often cheaper, but may mean having to do some DIY repairs or having a rig that’s a little out of date. Luckily, however, there’s an option that sits at the intersection of new and budget-friendly.
Yep, we’re talking about a DIY teardrop trailer.
Building your own teardrop camper means you get all the perks of a custom build and features at prices that many people can afford. Of course, it’ll take some elbow grease, but building a teardrop trailer may be a lot easier than you think.
And when you’re ready to insure that handmade rig – jump to Roamly to get an instant quote for RV insurance for your custom teardrop.
How to build your own teardrop camper
Just like a road trip, building your camper will start with a roadmap.
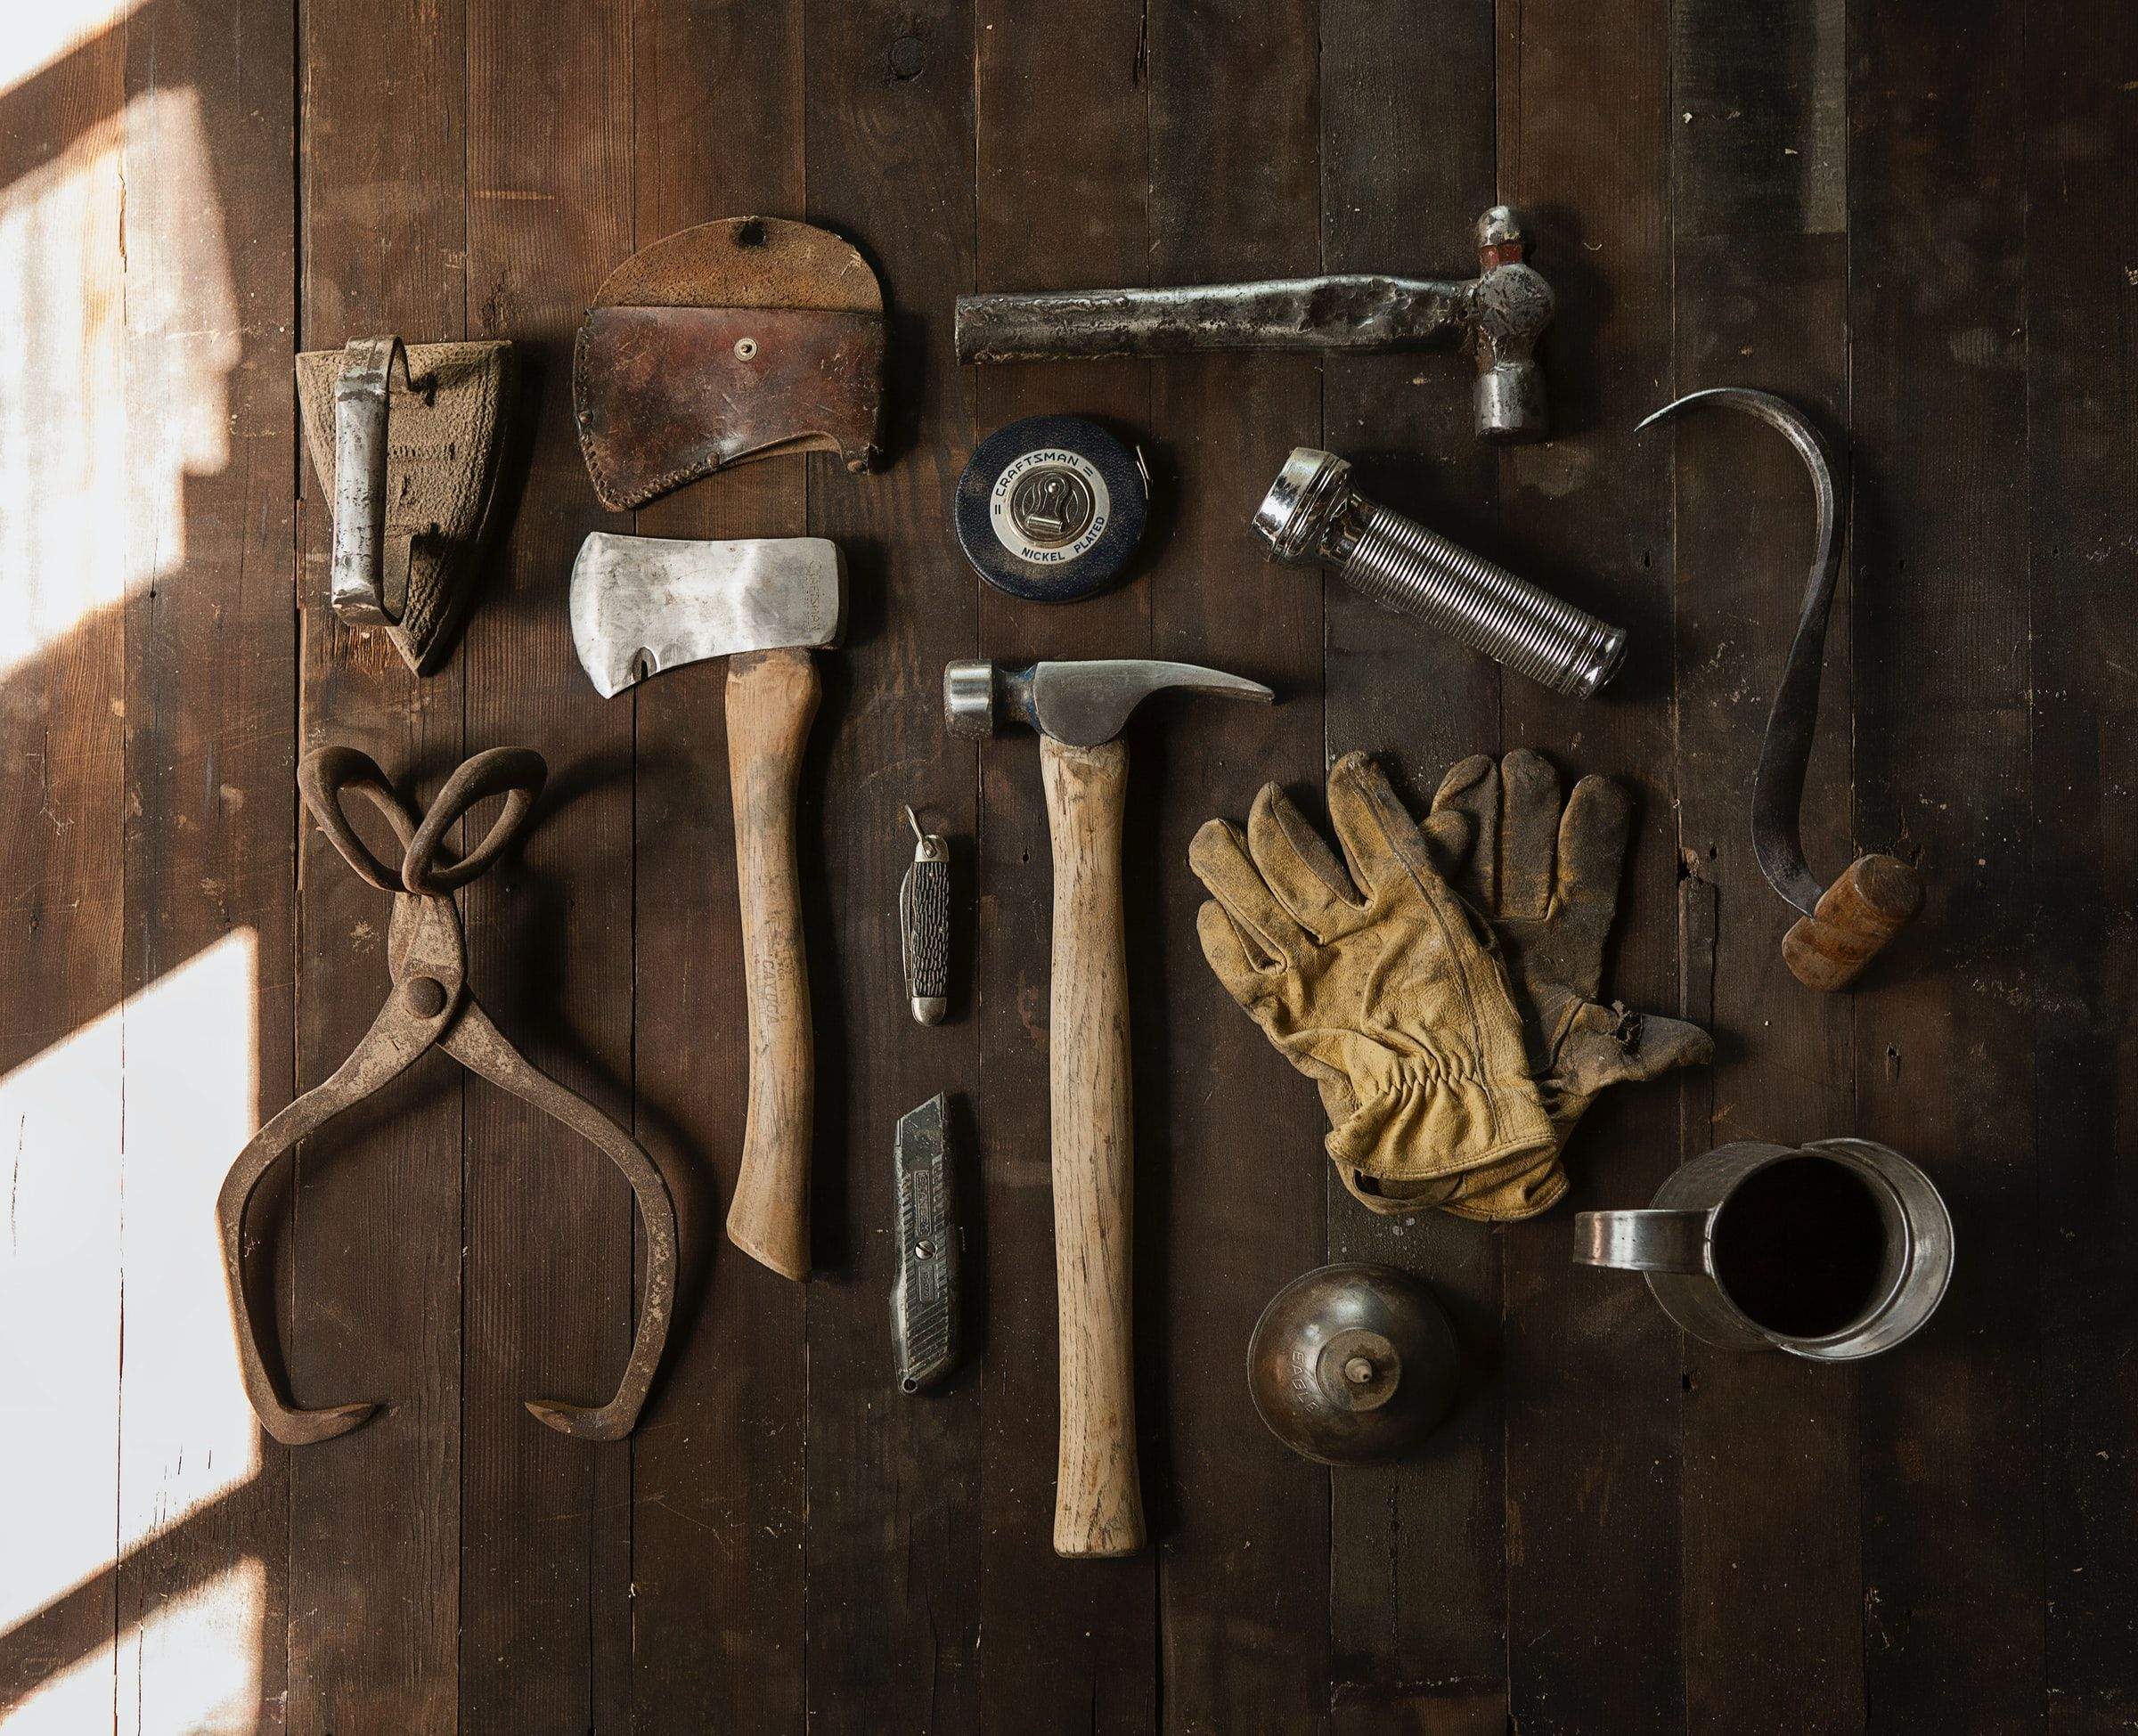
Before you begin cutting any wood or hammering any nails, take the time to draw up a solid design or find teardrop camper plans online.
Doing so will do two things. For one, it’ll ensure that your trailer has all the features you want. It would be a shame to build out an entire trailer, only to realize at the end that you forgot to wire it for interior lights.
Secondly, planning ahead of time will allow you to budget and buy all of the supplies and materials you’ll need ahead of time. You’ll probably already be making more than a few trips to the hardware store — there’s no need to add more due to you being unprepared.
Building the exterior of a DIY teardrop trailer
You’ll build your trailer from the outside in, so we’ll start our guide with the exterior.
1. Purchase your trailer base
You’ll want to start with the foundation of your teardrop — the trailer. This is the base upon which your teardrop will be built, and luckily, you’ll have a lot of options. Some of the biggest factors to consider here will be:
- Trailer weight and dimensions
- Whether you want to construct the trailer yourself with a kit, purchase one that is already built, or convert a trailer you already own
- What kind of decking you need for the trailer
After your base is assembled, you can move on to constructing the sides of your camper.
2. Construct the sides
Next, you’ll want to construct the sidewalls of your camper with plywood. These two pieces are what will give your trailer the iconic teardrop shape. What, exactly, they look like will vary depending on your plans, but you’ll want to remember to cut spaces for the door, windows, and wiring for your interior and exterior fixtures.
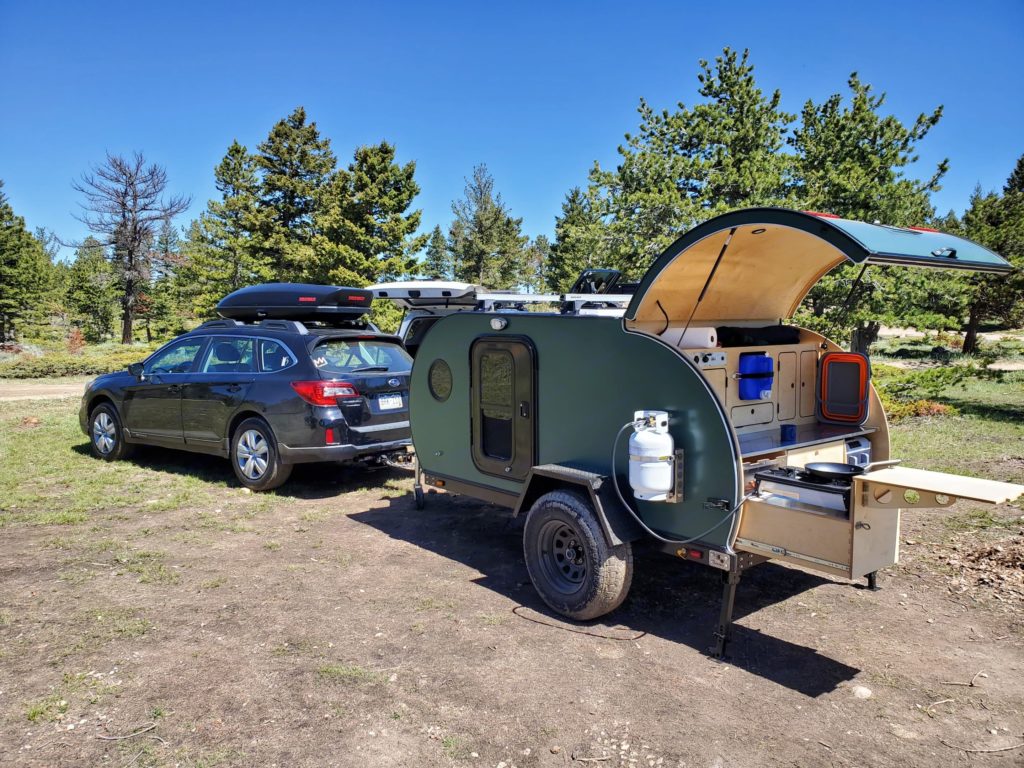
3. Frame the kitchen area in the rear
Once your side walls are secured in place, you can begin to build out the galley kitchen in the rear of the teardrop, if you’ve planned for this. Typically in this area, you’ll include:
–A sink and space for water tanks
-Cabinets
–Hutches to store cooking supplies and ingredients
–An area to use or store a propane stove
Focus on the frame of this area right now. You can add fixtures and finishes once the exterior of the camper is completely built out.
4. Add wiring
Before you start walling everything in, add any wiring to the walls. Be sure to note where you place the wires to avoid drilling or cutting through them later.
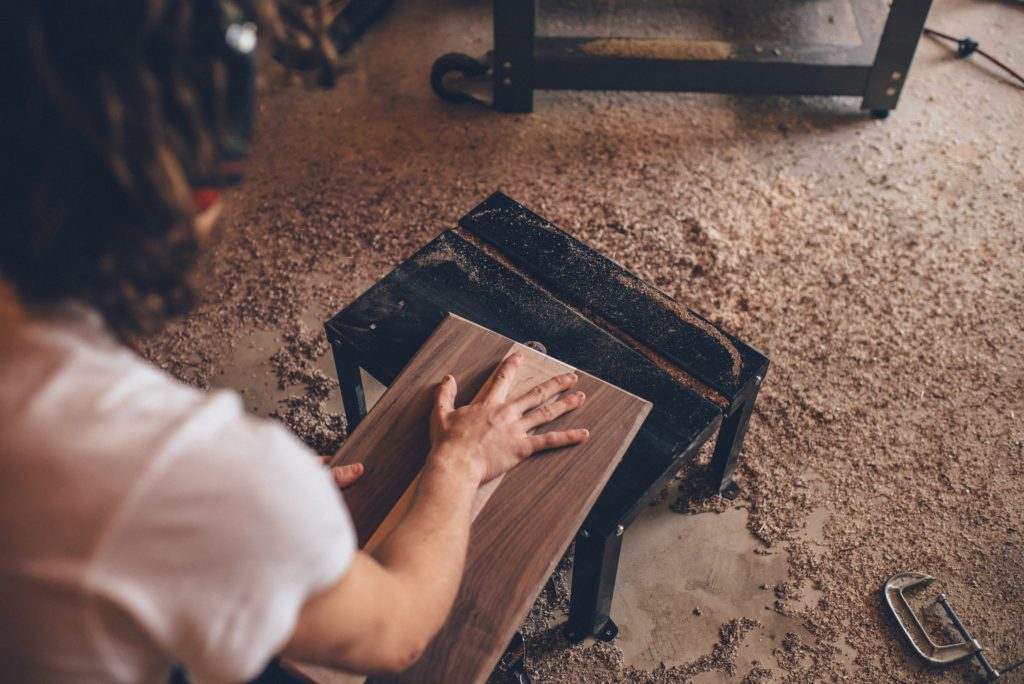
5. Install a roof and outer shell
Next, you’ll install the roof. For this, you’ll need to construct braces between the two walls. This will secure the entire structure and provide solid wood to secure the plywood shell. It’s also a good idea to insulate your roof and walls where you can before securing the exterior and interior walls and roof to the frame.
6. Paint and finish the trailer
Once your camper is more or less built out, you can paint or varnish the exterior to your liking. Don’t forget to add an epoxy coat or two to give your teardrop camper a lasting smooth and strong finish.
7. Add doors, lights, and finishing touches
Lastly, you’ll add doors, windows, lights, your sink, cabinet doors, and any other finishing touches.
Completing the interior of a DIY teardrop trailer
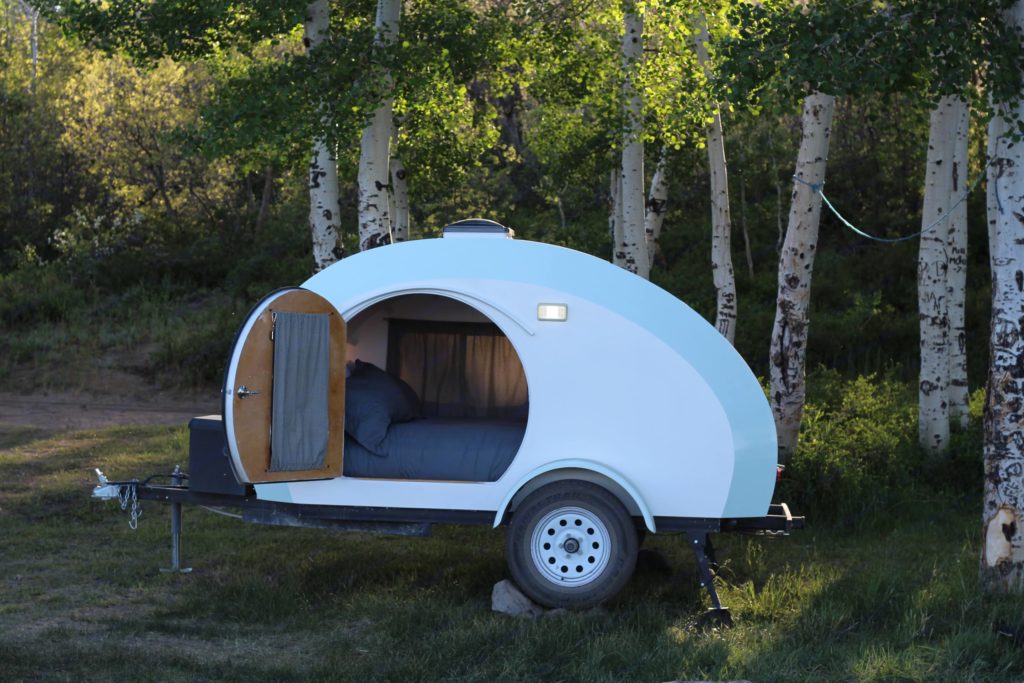
Luckily, teardrop interiors are pretty easy to build, simply because there is not much to them. Once you install any interior light fixtures or electric plugs and paint or varnish the interior to your liking, you can start furnishing your new camper! Luckily this will be easy to do, as most DIY teardrop campers can only fit a mattress and some basic essentials.
Keep in mind that this guide offers a broad overview of the steps to build a teardrop trailer. You may wish to include other features in your build such as pop-outs, outdoor shower spaces, awnings, and more. There are tons of resources online that walk you through the process step-by-step with photos and written text or video. A quick Google search can open up a whole world of possibilities!
DIY teardrop build inspiration
Looking for a little inspiration for your buildout? Be sure to check out all of the custom teardrop campers listed on Outdoorsy!
Here are a few of our favorites:
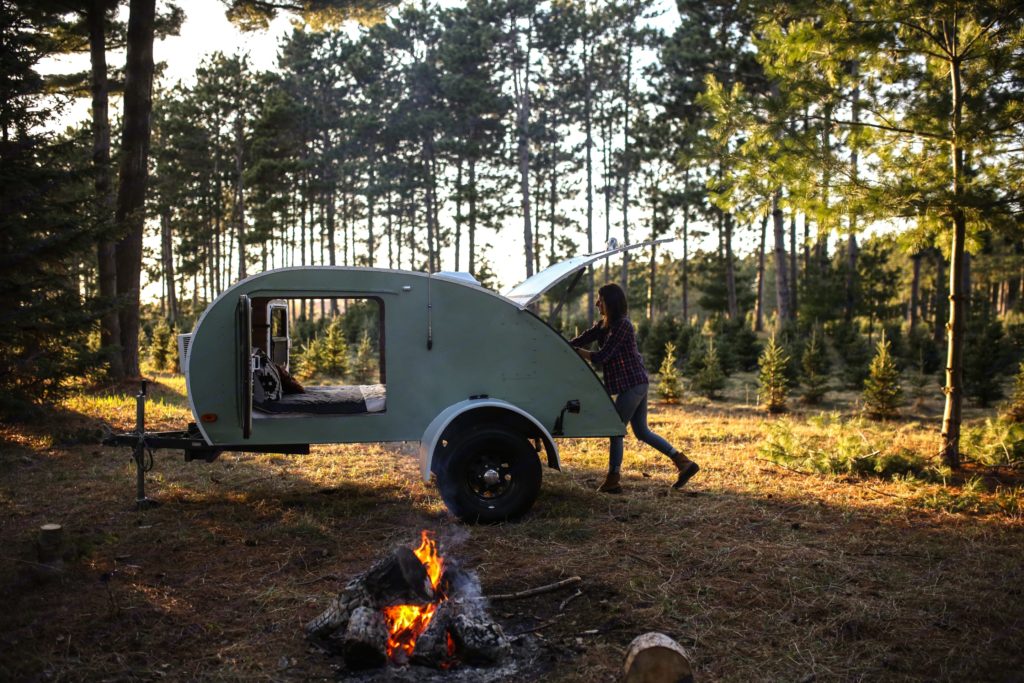
1945 Custom Teardrop Camper located in Minneapolis, MN
2021 Wibtech Rugged Teardrop located in Shoreline, WA
2019 Teardrop located in Saint George, UT
Start your buildout journey
Building your teardrop camper can be just as fun as the memories you’ll make while out camping. It’s a budget-friendly way to get on the road and see the world. Plus, when you aren’t using your trailer, you can rent it out to other outdoor enthusiasts and quickly recoup the money you spent on construction. It’s a win-win!
And remember that even DIY campers can be insurable (which is uber-important for covering your hard work!). Head to our sister biz, Roamly, to get an instant quote on RV insurance to cover your teardrop and save some mulah!


